How To
How to Choose Livestock Ear Tags: Size, Numbering and Colour
Ear tag choice comes down to animal size, numbering, laser additive and colour. Here is how to specify the right tag before you order.
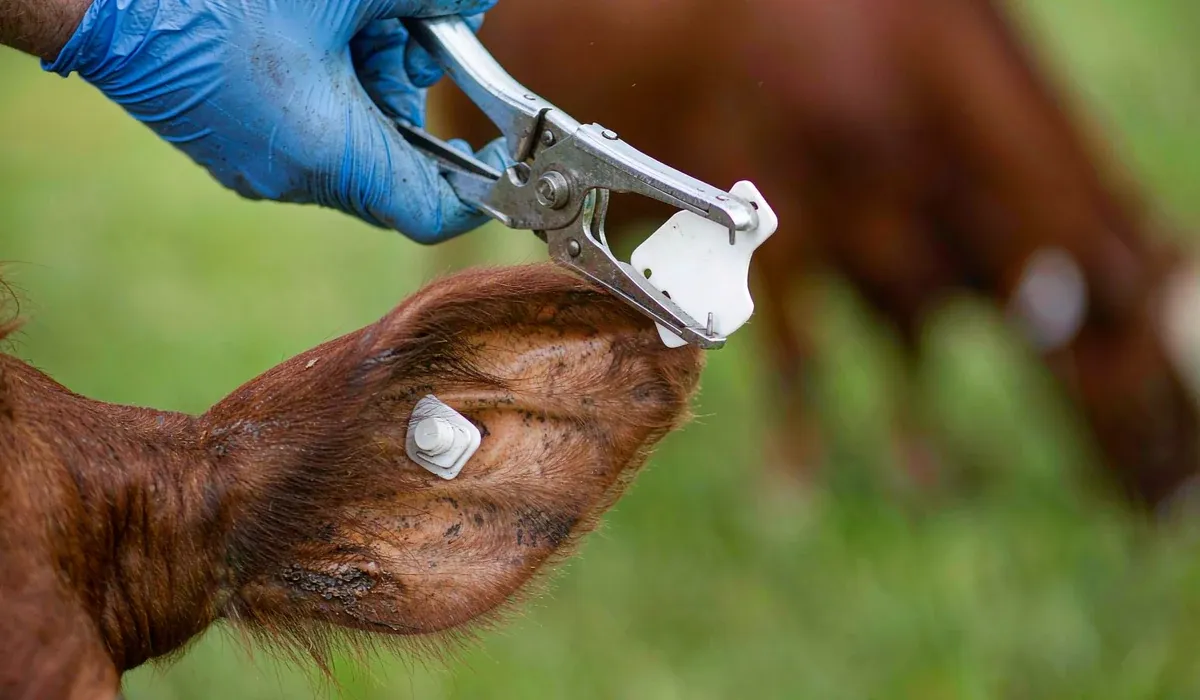
An ear tag has to do two things: stay attached and stay readable. Before you compare prices, settle the six choices below — they determine the tag you actually need.
A quick summary: match the tag to the animal, decide how the number will be applied, confirm the material has UV additive, and choose a light colour that keeps the digits visible.
1. Match the tag to the animal and its age
Start with the animal. For adult cattle and pigs, choose the largest ear tag. Young cattle and pigs can take a slightly smaller tag. Sheep take the smallest tag.
If you prefer to keep one size in stock, you can use the largest tag for cattle and pigs and still use it on younger animals. The trade-off is simply that a large tag is more than a small animal needs.
Do not choose a size by habit alone. The same farm may need two sizes if it handles mature cattle and young stock, or cattle and sheep.
2. Decide whether the supplier should print the number
If your numbering is already fixed, the simplest route is to let the supplier print the tags. Most production runs are numbered in sequence, such as 001, 002, 003.
Send the exact starting number, the direction of the sequence and any prefix or special requirement. If some animals need a different series, say so before production. A clear numbering instruction avoids sorting and rework after the tags arrive.
3. If you laser-mark in house, order laser-ready tags
Blank tags are not automatically ready for laser marking. If you plan to mark them on your own laser machine, ask the supplier to add the laser additive to the tags.
If you do not ask, the default tag is made without the laser additive, and the mark may not develop as expected. Laser-ready tags cost a little more, but they are the correct blank for in-house laser marking.
Put this requirement in the order specification, not in a later message. It changes the material batch, so it is difficult to add after production has started.
4. If you do not print or laser-mark, use an oil-based marker
For small batches, an oil-based marker is the simplest option. Order plain tags and write the numbers by hand.
This avoids printing setup and laser additive, but the number is only as consistent as the handwriting. It works best when quantities are small and the person marking the tags can work from a clear list.
5. Choose a light colour
Light-coloured tags are easier to read in the field. Dark colours can make the printed or written number harder to see over time, especially once the tag is dusty or weathered.
This is why yellow is the best-selling ear tag colour. It gives the number strong contrast and remains easy to scan in a race, crush or paddock.
If you use colour to separate farms, years or groups, keep the number area light. A coloured tag is only useful if the number can still be read.
6. Confirm the material has UV additive
Ear tags spend their life in sunlight. Before ordering, confirm with the supplier that the material contains UV additive.
Some suppliers leave UV additive out to reduce cost. Without it, the plastic can become brittle and crack after prolonged exposure to strong sun.
Put “with UV additive” in the specification and ask the supplier to confirm it in writing. Do not assume it is included by default.
Ordering checklist
Before you request a quotation, note these five items:
1. Animal and age group: adult cattle or pigs, young cattle or pigs, or sheep.
2. Numbering: printed by the supplier, laser-marked in house, or left blank for an oil-based marker.
3. Laser additive: required or not required.
4. UV additive: confirm the material includes it.
5. Colour: light colours first; yellow is the most popular.
Send the animal, quantity, number sequence, marking method and UV requirement together. That is enough to quote the correct tag without a back-and-forth about size or material.